


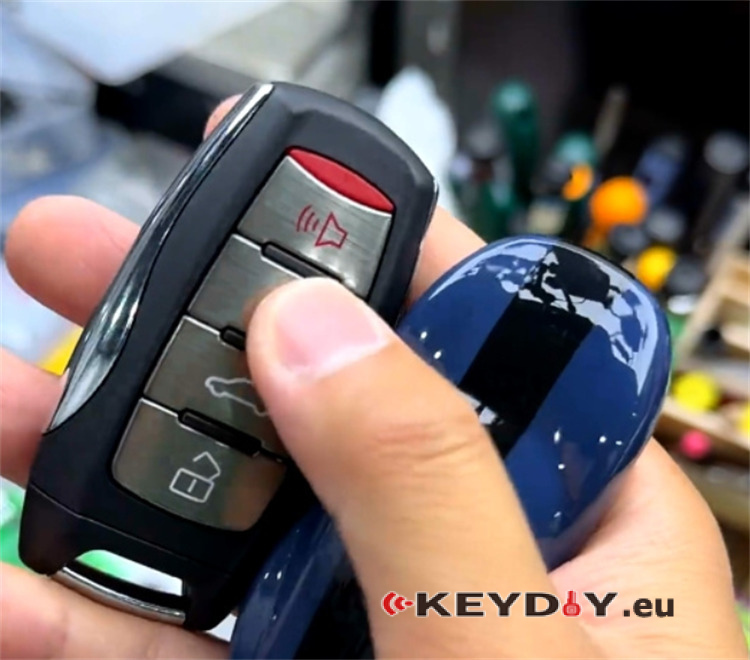
KEYDIY has further enhanced the KD-X4 platform by adding a specialized cloning procedure for NXP NCF29Ax transponders. This technical guide demonstrates how to duplicate a 2021 Haval H6 smart key onto a KEYDIY aftermarket PCB directly via bench mode, eliminating the need for OBD vehicle pairing and streamlining the key replacement workflow.
Technical Specifications & Equipment
- Vehicle Model:2021 Haval H6
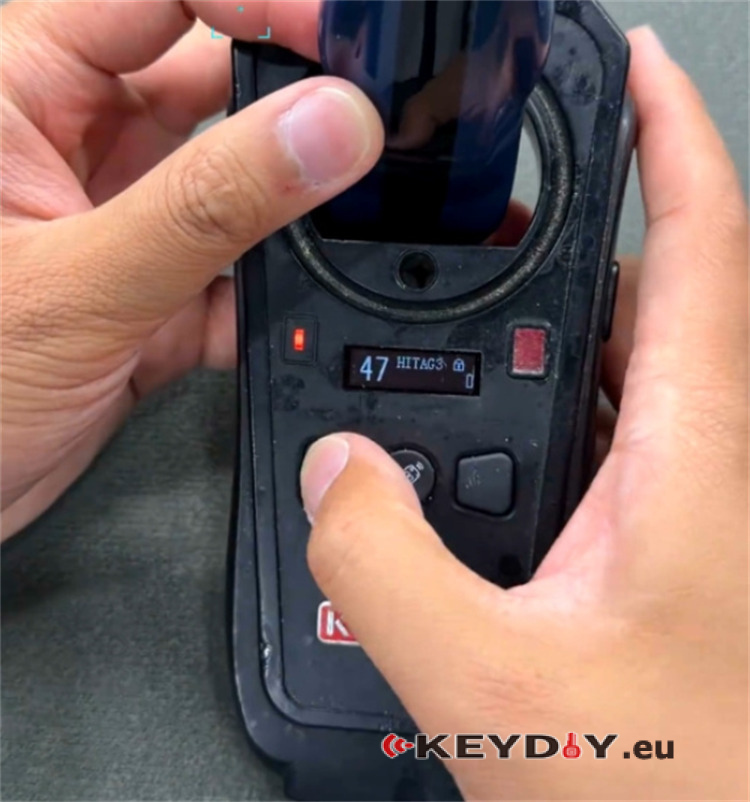
- Transponder Configuration:ID47 (NXP29A1 processor)
- Primary Tooling:Keydiy KD-X4 5-in-1 Key Programmer & Keydiy NCF29xx Adapter (Adapter #13)
- Target Hardware:Keydiy KD C29A71 Smart Key
- Workshop Tools:Hot air rework station (heat gun) and anti-static precision tweezers
Method Assessment
Pros:
- Maintains Proximity Entry:Full keyless access/door handle sensor functionality is retained.
- Bypasses Security Pin:Eliminates the need to retrieve expensive or complex vehicle security codes for programming.
Cons:
- No Button Control:The replacement C29 key does not support physical remote button functions (lock/unlock/trunk).
Step-by-Step Bench Workflow
Step 1: Chip Desoldering & Reading
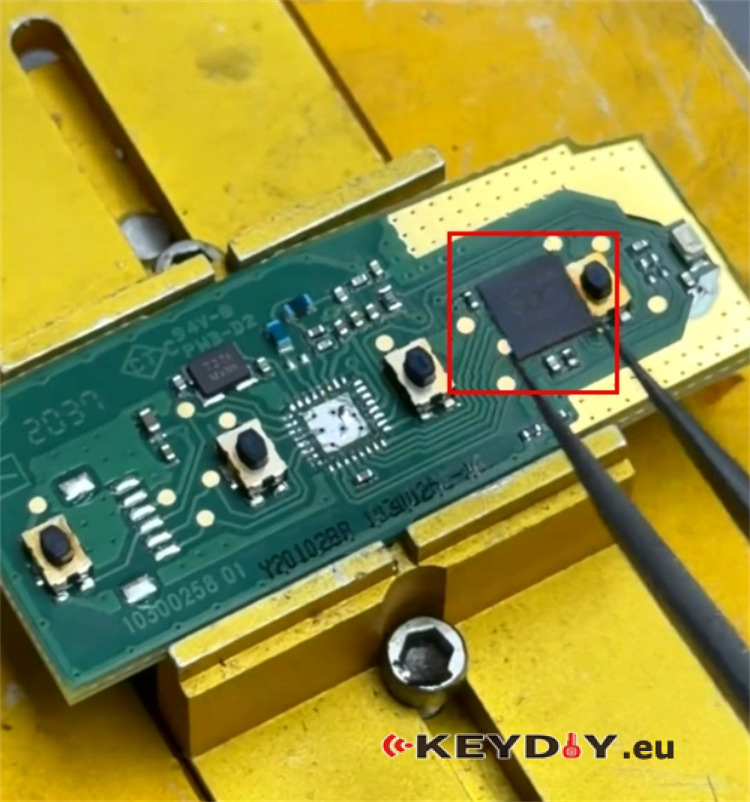
Disassemble the original Haval H6 smart key housing and extract the PCB.
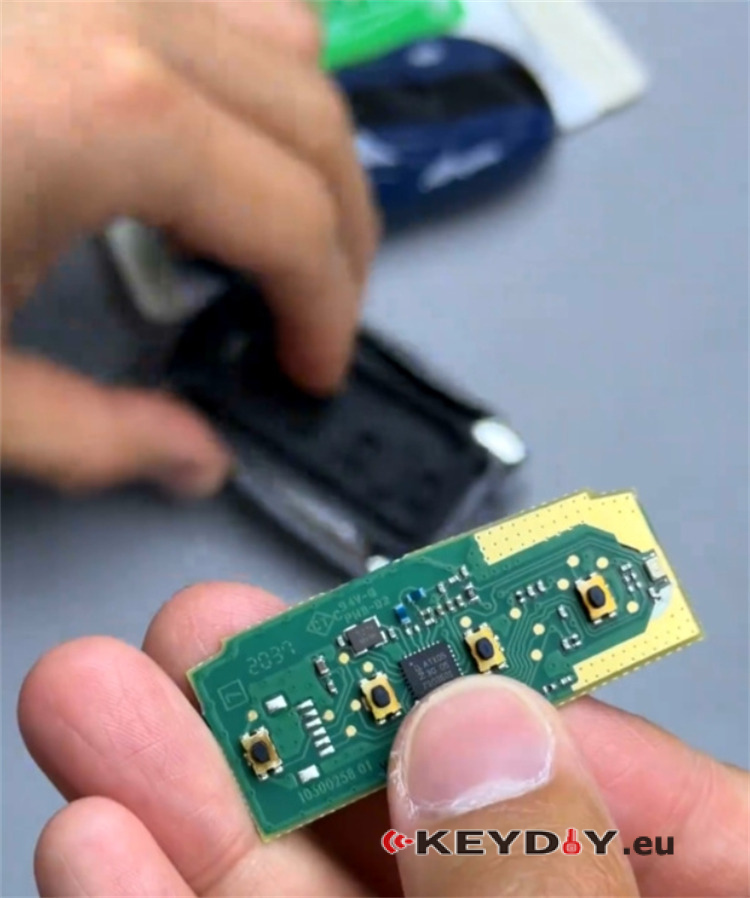
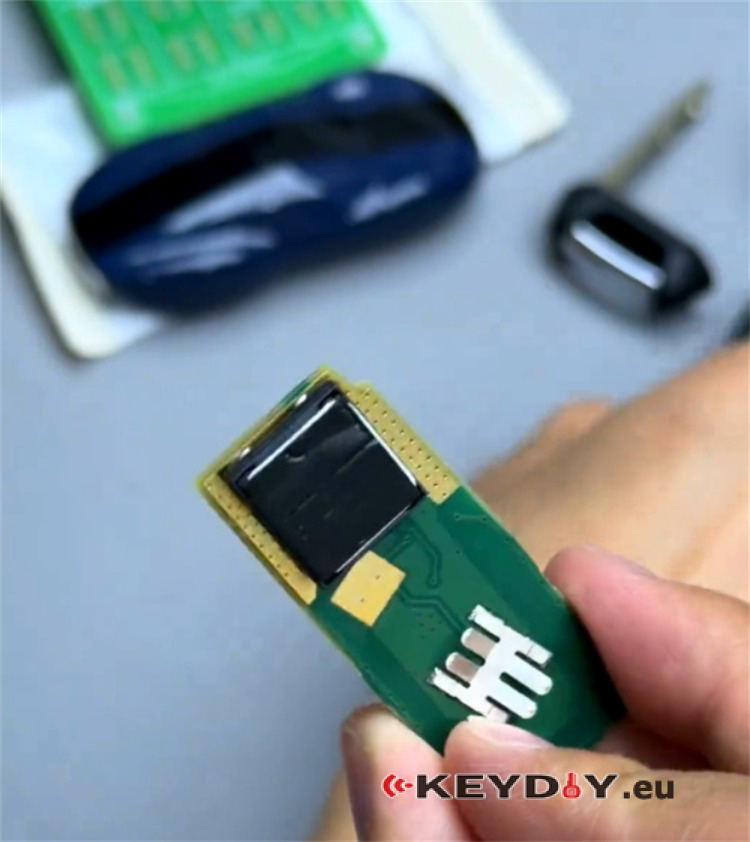
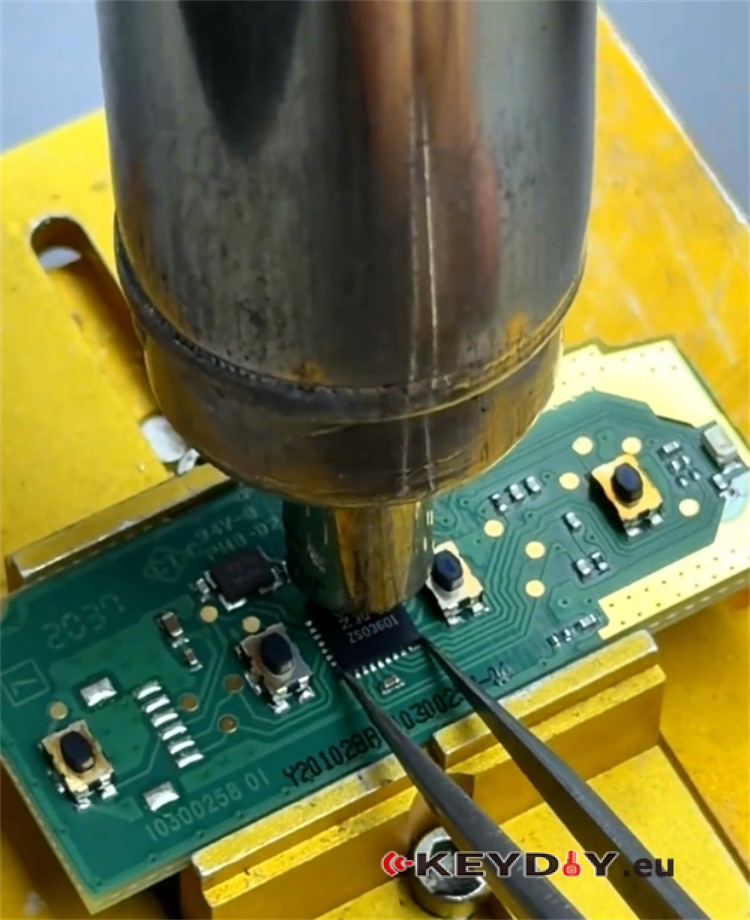
Locate the surface-mounted NXP29A1 processor chip on the board.
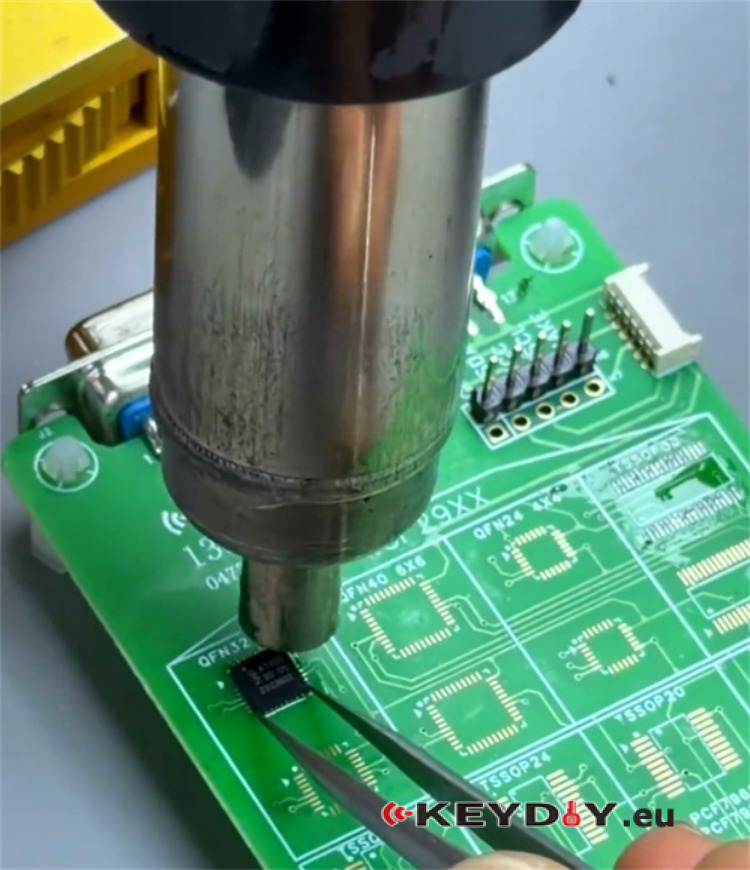
Using a hot air gun and anti-static tweezers, carefully desolder the NXP29A1 chip from the factory PCB.
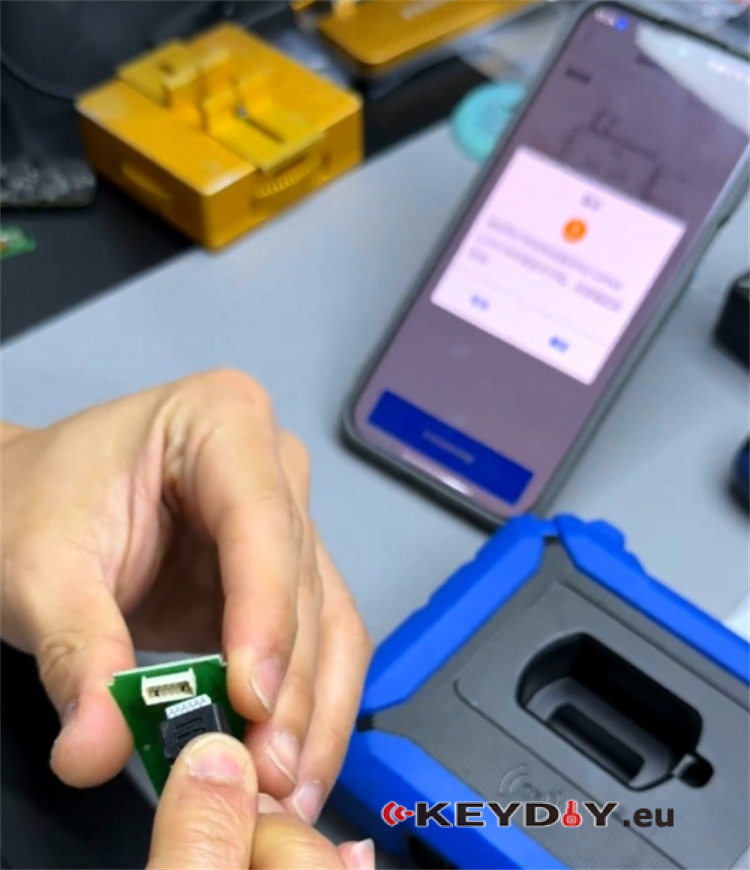
Align and solder the extracted NXP chip onto Keydiy NCF29xx (#13) adapter.
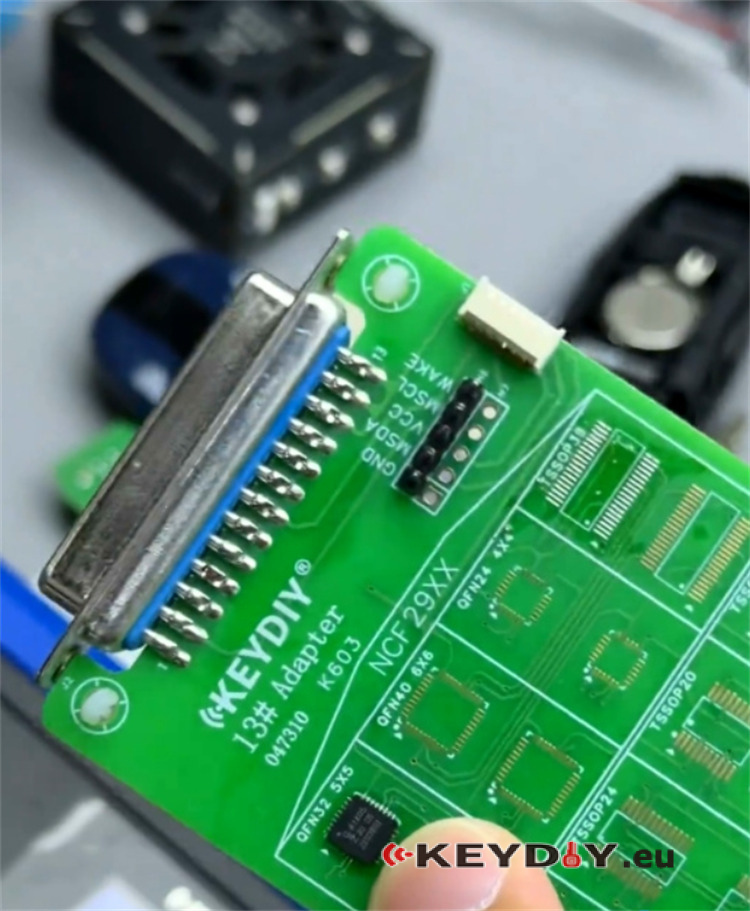
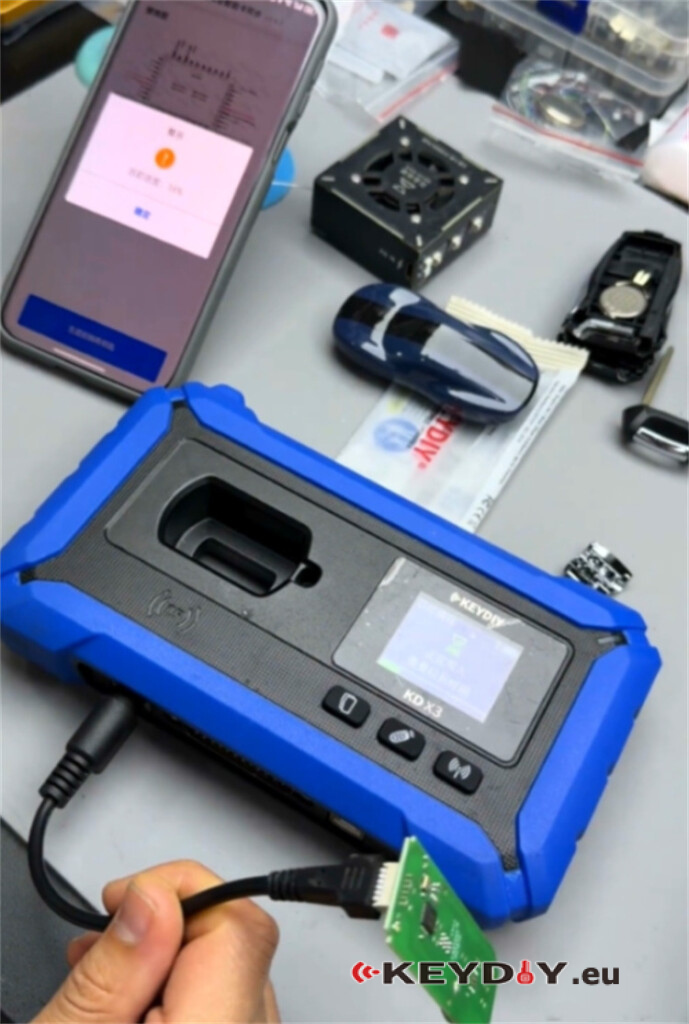
Interface the NCF29xx adapter with the main KD-X4 programming unit.
Step 2: Software Execution & Data Transfer
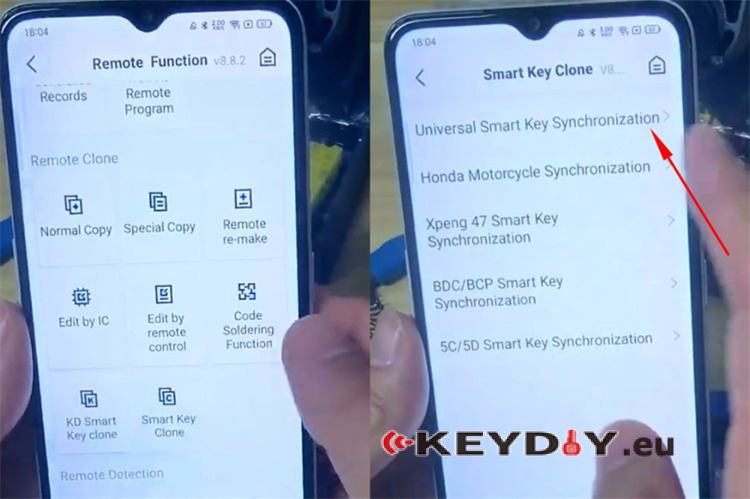
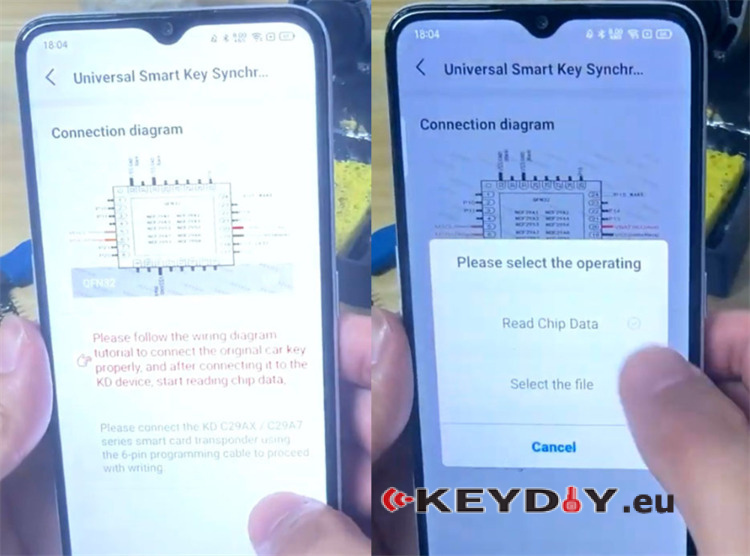
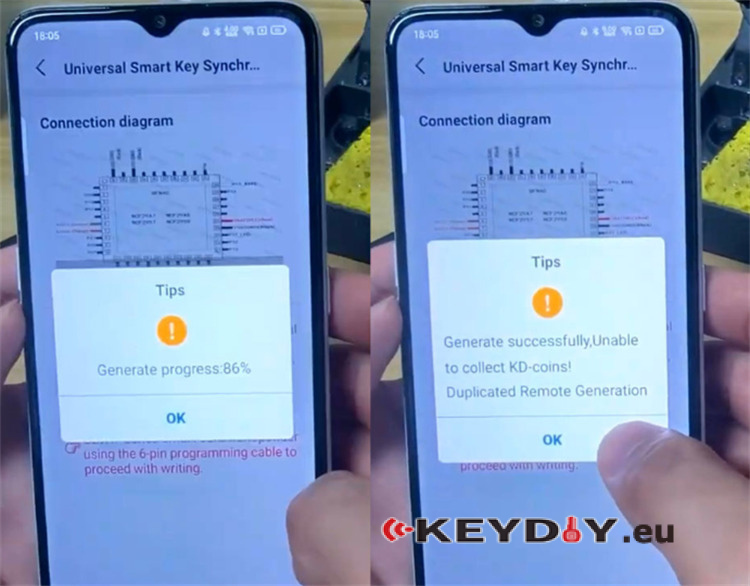
Launch Mobile KD App and navigate to: Remote Function ➔ Smart Key Clone ➔ Universal Smart Key Synchronization.
Review the on-screen schematic (Note: Using the official #13 adapter eliminates the need for manual wire jumping/soldering).
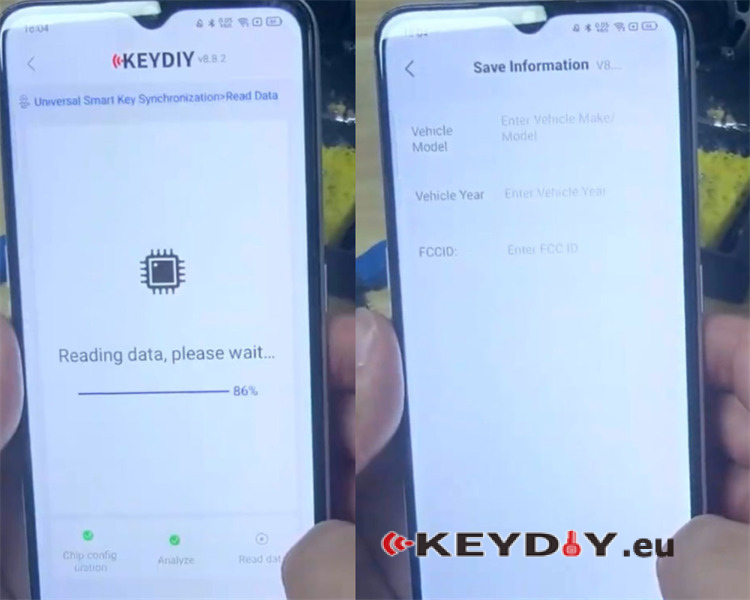
Select [Read Chip Data] to pull the security and transponder information from the original NXP processor.
Populate the data fields with the vehicle details (Model, Year, FCCID) to save the extracted dataset.
Step 3: Writing the New Key & Restoration
Connect the target Keydiy KD C29A71 smart key circuit board directly to KD-X4 key programmer using the standard 6-pin data cable.

Execute the command to write the proximity and transponder data to the new board. Once successful, assemble the new Keydiy PCB into its key shell.
Use your hot air station to desolder the original chip from the adapter and reinstall it back onto the original factory Haval PCB. Reassemble the original key housing.
Final Verification:
Because this is a direct data clone, no vehicle-side OBD programming is required. Test the proximity start and keyless entry functions on both keys to complete the job.